Getting a punctured tyre is not uncommon on our roads. It can happen at any time and for a variety of reasons: bad roads, metal debris, worn-out tyres and more. A puncture can happen at the least opportune moment, such as when you are driving to a wedding in the rain. Or imagine if you are stranded in the middle of nowhere, with no help in sight. This is why the skill of changing a tyre is a very important one, and thankfully, it isn’t all that hard to do. Just follow these steps you’ll be on the move again in say 30 minutes.
1 Find a safe zone
If you are driving and suddenly realise that one of your car’s tyres has got a puncture, it is best to reduce your speed gradually and come to a halt on the shoulder of a straight, level stretch of road. But avoid driving too great a distance on a punctured tyre as you risk getting more punctures and damaging the wheel rims. Also, once you stop on the shoulder, turn on your hazard lamps to make sure you are visible to other traffic. And, if you have one, place the warning triangle that comes along with your car 10 feet behind your vehicle.
2 Setting up
Make sure you apply the parking brake before beginning to change the punctured tyre as this will prevent the vehicle from rolling forward or back dangerously. You can also use a block of wood or large stones found on the wayside as a chock to prevent the car rolling. If you’re changing a rear tyre, place the chock before the front tyres. If your flat tyre is at the front, put the chock behind the rear tyres. Also, make sure to ask all vehicle occupants to disembark before changing the tyre.
3 Locating your tools

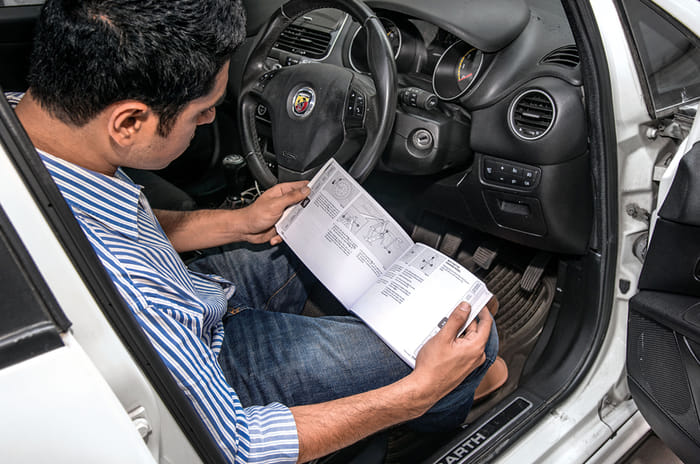
To accomplish the task of replacing your punctured tyre, you’ll need the car’s screw-jack, wheel spanner and spare tyre. Most cars have these hidden from plain view under the floor of the boot, or even under the floor of some SUVs and MPVs. In case, you cannot locate them, refer to your owner’s manual which usually comes with handy diagrams.
4 Loosening the wheel nuts
This needs to be done before you raise the vehicle on the screw-jack. In case the punctured tyre has a cover or hub caps, you’ll have to remove them off first. Follow the owner’s manual instructions on doing this as this process varies, depending on vehicle; generally, a sharp tug will do the job. Use the wheel spanner to loosen the wheel nuts by turning them in an anti-clockwise direction. The number of wheel nuts usually varies from three to five, depending on the car. But be prepared to use a lot of force while loosening them. In case they are really tight, you can use a hollow pipe over the spanner handle for extra leverage. Also, do not hesitate in using your foot or even jumping on it. Make sure you only loosen them and not remove them completely.
5 Jacking up your car

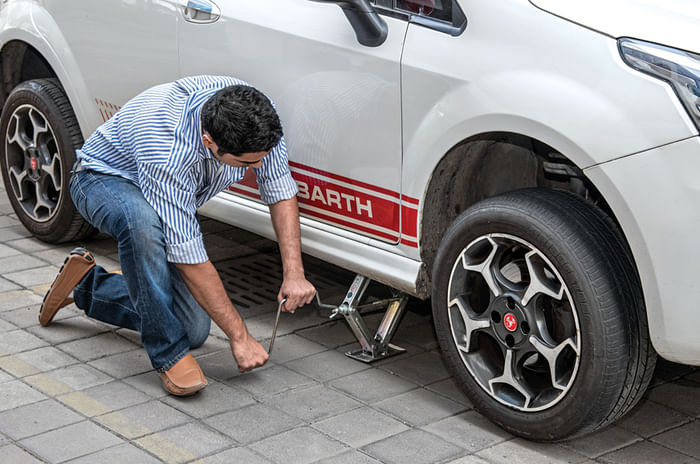
After loosening the nuts of the punctured wheel, you will need to place the vehicle-jack (most vehicle manufacturers provide a manual screw-type scissor jack along with the car) at a specific jacking point to raise the vehicle. This area is near the wheel and is indicated by a small arrow; its location can also be found in the owner’s manual. It is extremely important to know where this point is and to locate it correctly and safely. Once the jack has been aligned correctly, start rotating the spindle clockwise to raise the vehicle until the tyre is around 10-15cm off the ground to ensure that there is extra space for the inflated spare tyre, which will be taller.
6 Removing the punctured tyre
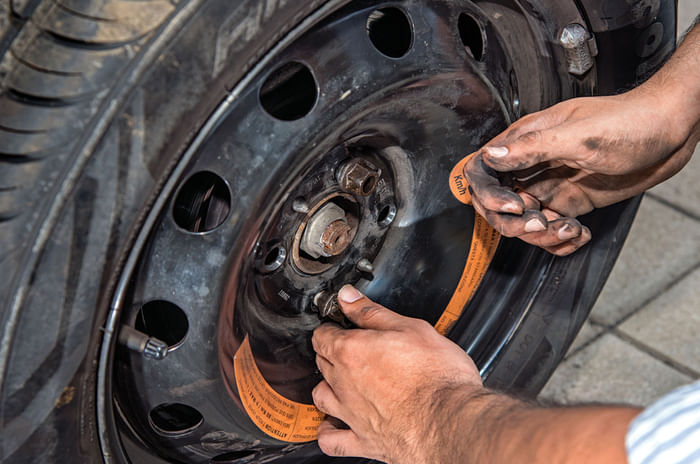
After jacking up the vehicle, unscrew its wheel nuts completely. Eventually, this should be possible with your hands only as you had already loosened them earlier. Keep them aside safely and then remove the punctured tyre by gripping it by the treads with both your hands and pulling it towards you. Do this until it’s free from the guides on the wheel hub. Keep the punctured wheel on the ground, partially under the car between the wheels. Sometimes, due to rust, an unscrewed wheel refuses to come out. To pry it loose, sit on the floor and use your feet to kick one side hard repeatedly. Then do it to the other. Eventually it should come loose.

7 Replacing the spare
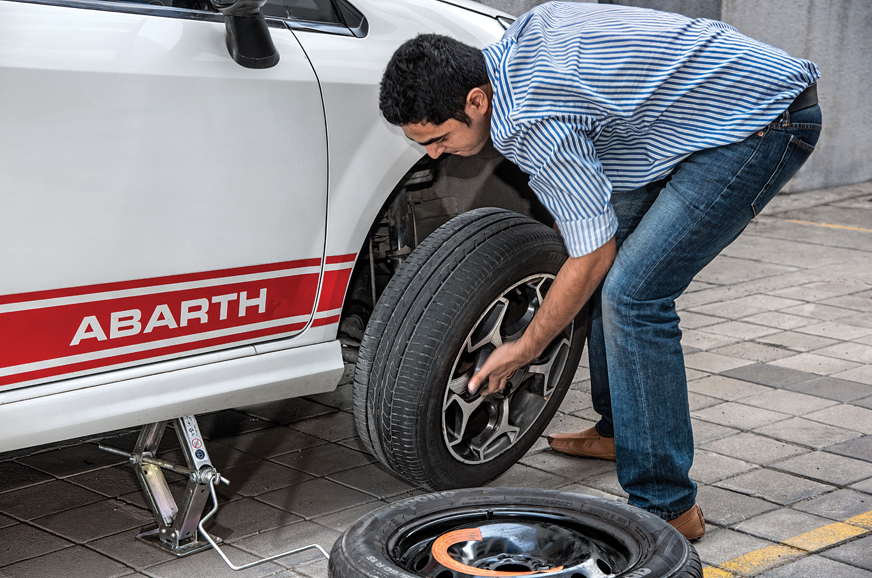
Now comes the difficult task of lifting up the spare tyre and aligning it with the wheel bolts. If you are changing the tyre of a heavy SUV you might need help here. The trick is to expect to have to hold the tyre up for a long period. Don't be in a hurry, this is the most difficult and physically taxing bit. You're objective is to look at two bolts and make sure you align them with the wheel. The rest should be easy. Gently push till all the bolts show through.
8 Tightening the wheel nuts
With one arm or your foot holding the fresh tyre in place on the wheel hub start putting back the wheel nuts on wheel bolts and then tighten by turning them in the clockwise direction firmly but not hard. Once done, start lowering the vehicle by turning the jack in an anti-clockwise direction until the wheel is just touching the ground. Now using the wheel spanner tighten the nuts further, but in a diagonal or crisscross manner. Then lower the vehicle completely and slide the jack out from underneath the vehicle. Re-tighten the wheels nuts once again with the wheel spanner to make sure they are as tight and re-install the hub cap or wheel caps as necessary.
9 Stow your tools properly
The punctured tyre can be placed and secured in the spare-tyre slot. Stow all tools like the vehicle jack, spanner and warning triangle in their requisite places so that you can find them easily the next time. Also, ensure that they are secured and do not jingle and jangle around too much when you are on the move.
10 Get to a tyre repair shop
Drive to the nearest possible tyre shop to get the punctured tyre repaired at the earliest. If you are lucky, you won't have more than one puncture. Also, many cars nowadays come with ‘space-saving’ spares which are a smaller size compared to the regular wheels. They are only meant to be used as emergency replacements to get the vehicle to a place of repair. They come with a speed limit which is usually around 80kph (or written on its sidewall).


